|
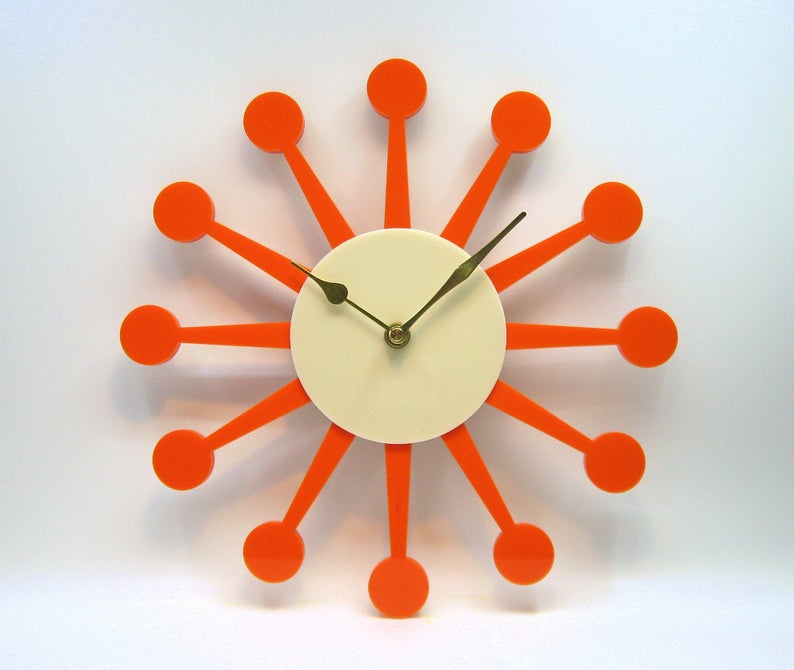
I stumbled on this clock while searching for another orange clock. It's laser-cut acrylic, from the PaceLaser Etsy shop. Only $42, which is a great deal! Perfect for your mid-century or '70s mod interior!
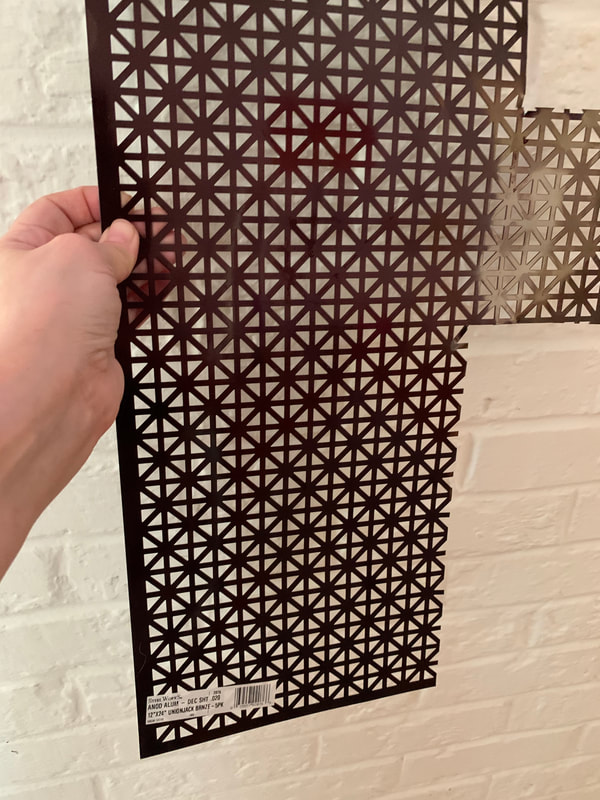
1950's Style Atomic Sunburst wall clock, etsy.com, $42 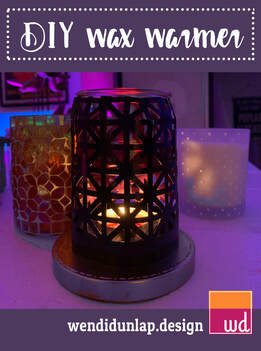 Today a package arrived from Target, containing a "Bali Sunrise" Opalhouse candle. It smelled amazing. But I broke it, and when I tried to get the candle out to put in another jar, well, the wicks stuck to the base of the jar and pulled out of the candle wax. I could not get the wicks back in. I was frustrated that my brand-new candle was ruined, but then I had a thought -- what about using the wax in a wax warmer? The thing is, I didn't have a wax warmer. But that doesn't mean I can't make one! So I thought for a while and came up with an idea. It's not perfect, but I do like the way it turned out! Unfortunately, I didn't take pics while I was constructing it, but the process should be relatively easy to understand. Here's what you need:
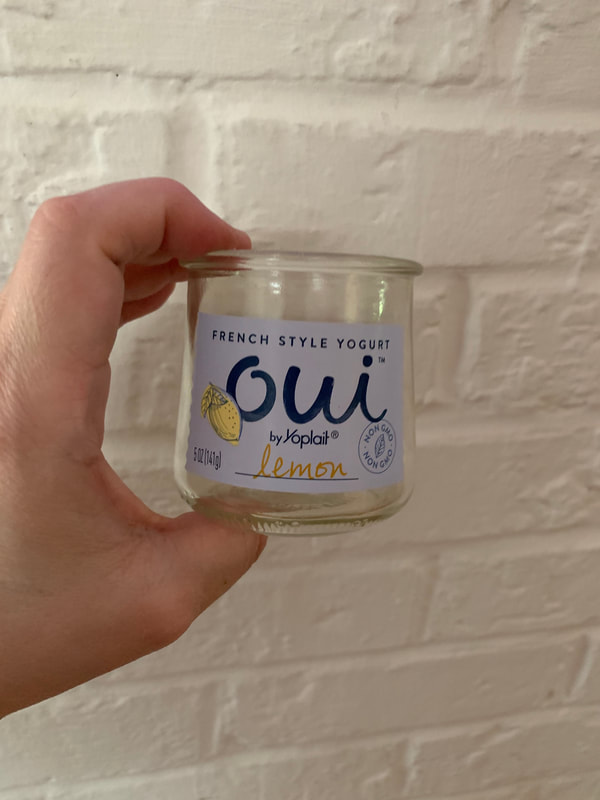
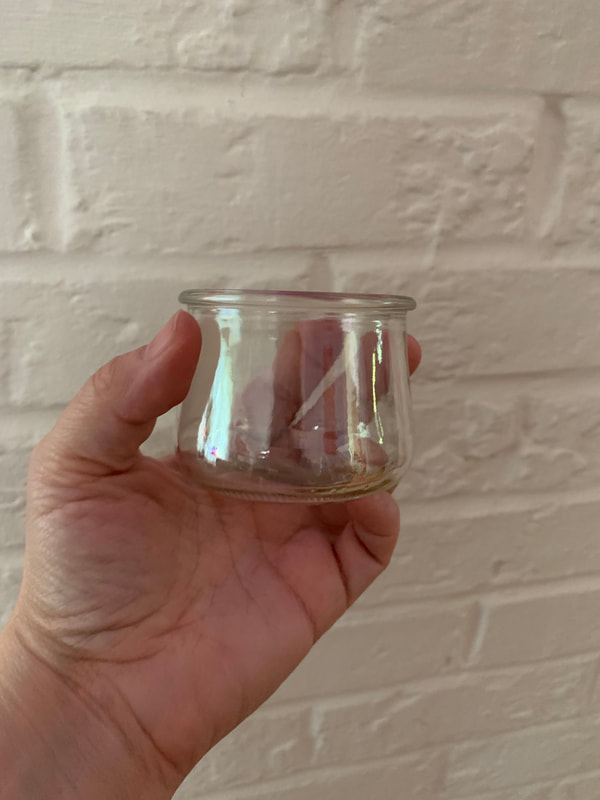
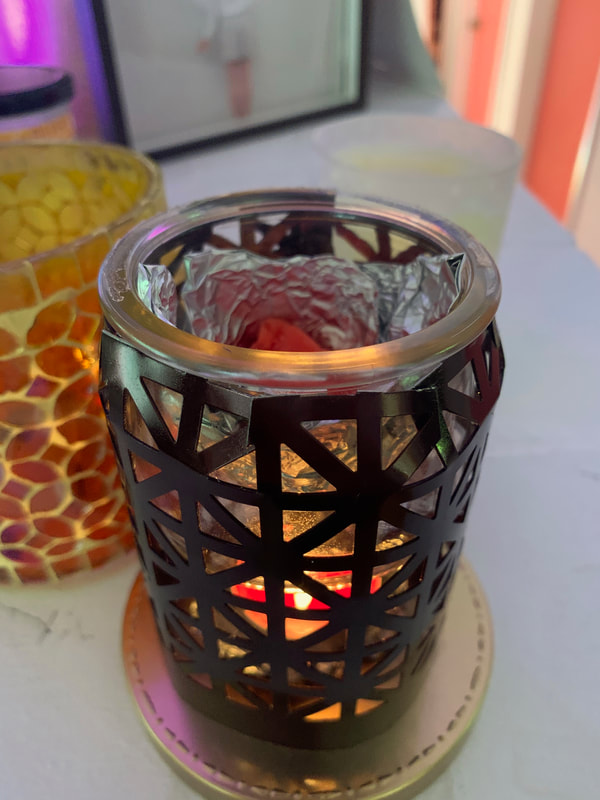
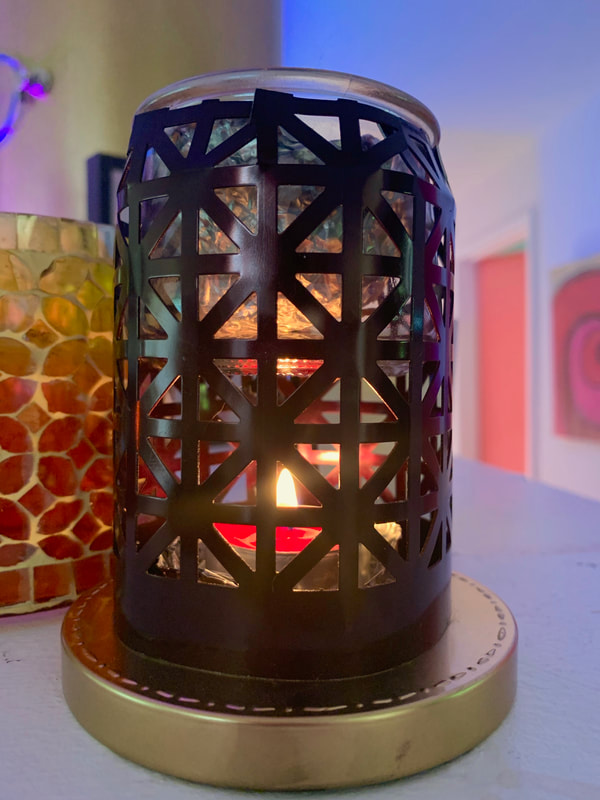
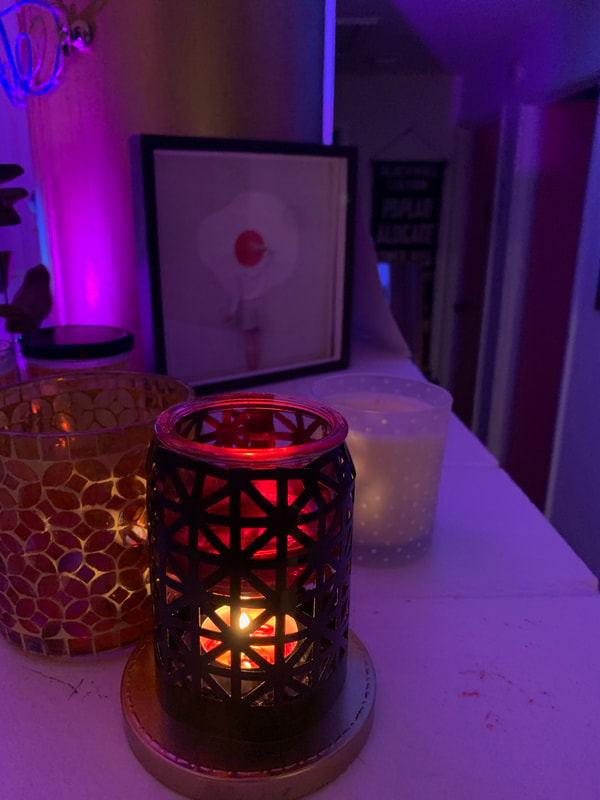
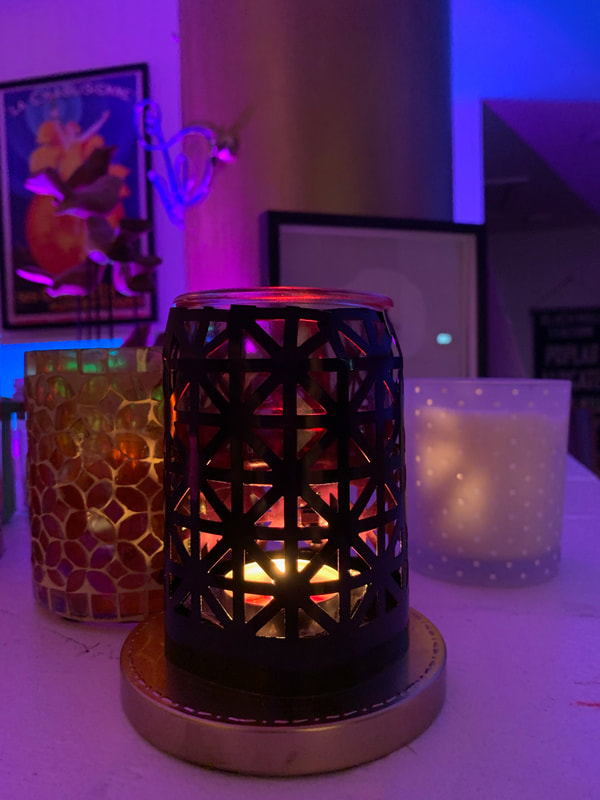
I had these things around the house already — I didn't need to go anywhere, which is good in this age of social distancing. Construction: Using the tin snips, cut out a rectangle of the metal, a size that will make the cylinder size you want. It will be about as big around as a soda can, but the height can vary a bit. Take your Oui jar and remove the label if there is one. The best jar for this is the small size, the ones that come in four packs of Oui. They don't have labels and their size is slightly better. But if you don't have one, the larger ones are OK. Make several snips along the top of the metal. You are making flaps you will fold inward. Roll the metal into a cylinder roughly the size of a pop can, and place the Oui jar inside it. Fasten the cylinder with wire or a scrap piece of the metal, so it will stay closed. At this point the jar probably won't stay at the top of the cylinder. This is what the flaps are for. Bend them inward, evenly so the jar will sit straight. Once they are bent in far enough, they will support the jar by its lip (See the pic below to clarify this). That's really all there is to it! Put wax in the jar, then light a tealight and set the cylinder above it. That's your wax warmer! I'm happy with mine. It works beautifully and it's not expensive like the ones in shops. It doesn't look bad at all, either. See the pics below for more information. |
AuthorWendi doesn't just write about new furniture and window treatments and such. Watch this space for interesting vintage finds, DIY projects, and more! DisclaimerPosts in this blog may include affiliate links.
|
Site powered by Weebly. Managed by Porkbun

 RSS Feed